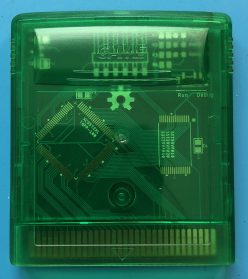
Recently I was putting a backlit screen into a Game Boy Advance, which is a common and fairly easy mod. Unfortunately, the plastic outer shell didn’t want to close completely, so against my better judgement, I decided to file down the solder joints on the cartridge connector using a Dremel. While this did shave off a millimeter or so, the Game Boy no longer worked when I put it back together – classic Game Boy games had a corrupted Nintendo logo and GBA games showed no logo at all. I figured that the vibration from the Dremel might have fractured some of the solder joints on either the cartridge reader or the CPU, so I reheated each of those pins to allow the solder to reflow and form cleaner joints.
At this point, classic Game Boy games now showed the proper logo, which allowed them to start, but there were some graphical glitches during gameplay, and GBA games still didn’t boot. Something was still wrong.
At this point, I used a multimeter to test continuity between each of the cartridge connector pins and the CPU. While most of them were fine, one pin – !CS – wasn’t making a connection. This makes perfect sense; !CS is used to access the external RAM on classic Game Boy games, which is sometimes used for graphics, and in GBA mode, it is needed for every memory read. If this pin was not working, that would explain all the problems I was seeing.
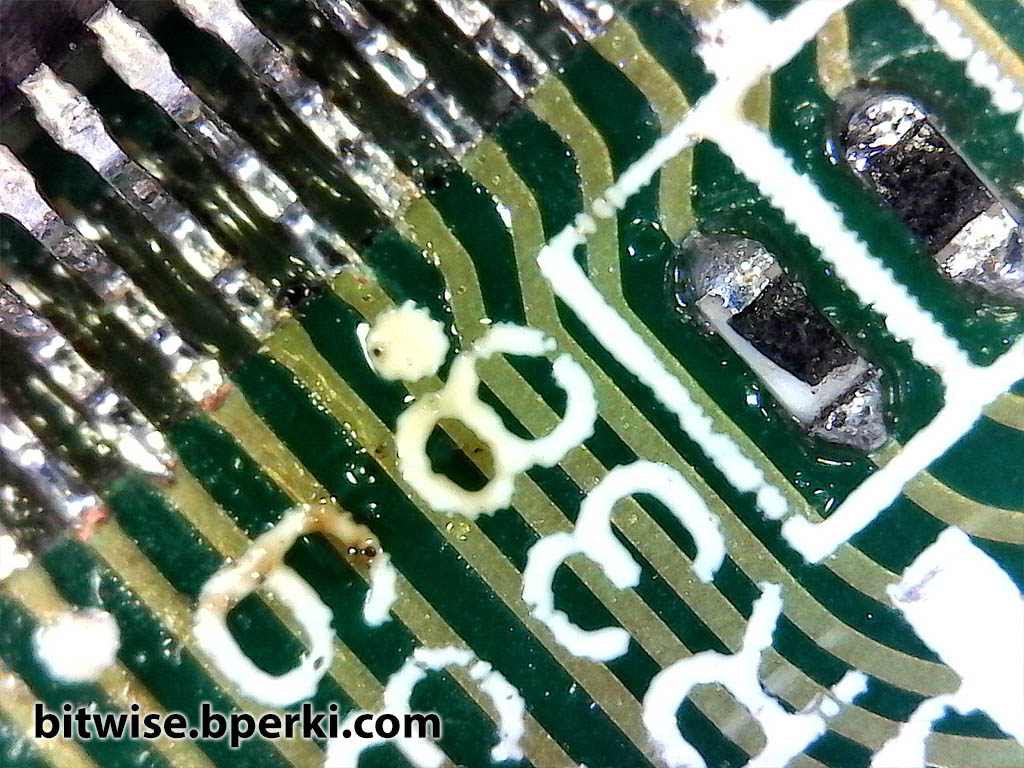
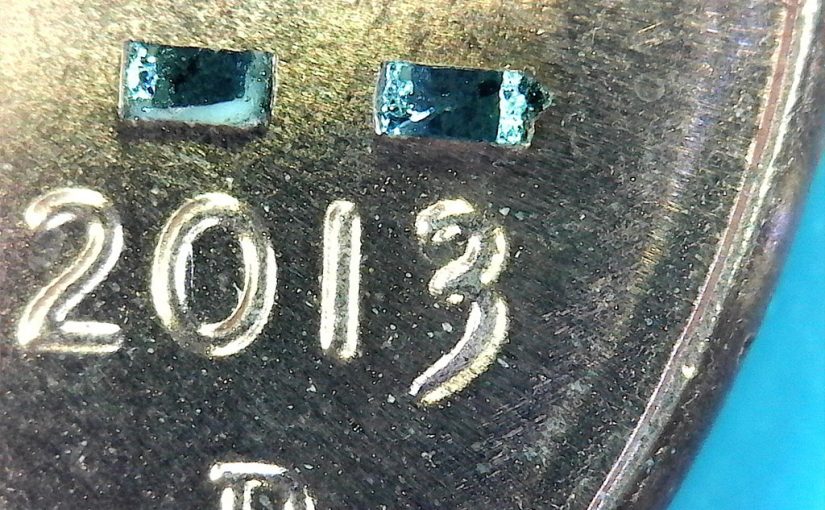
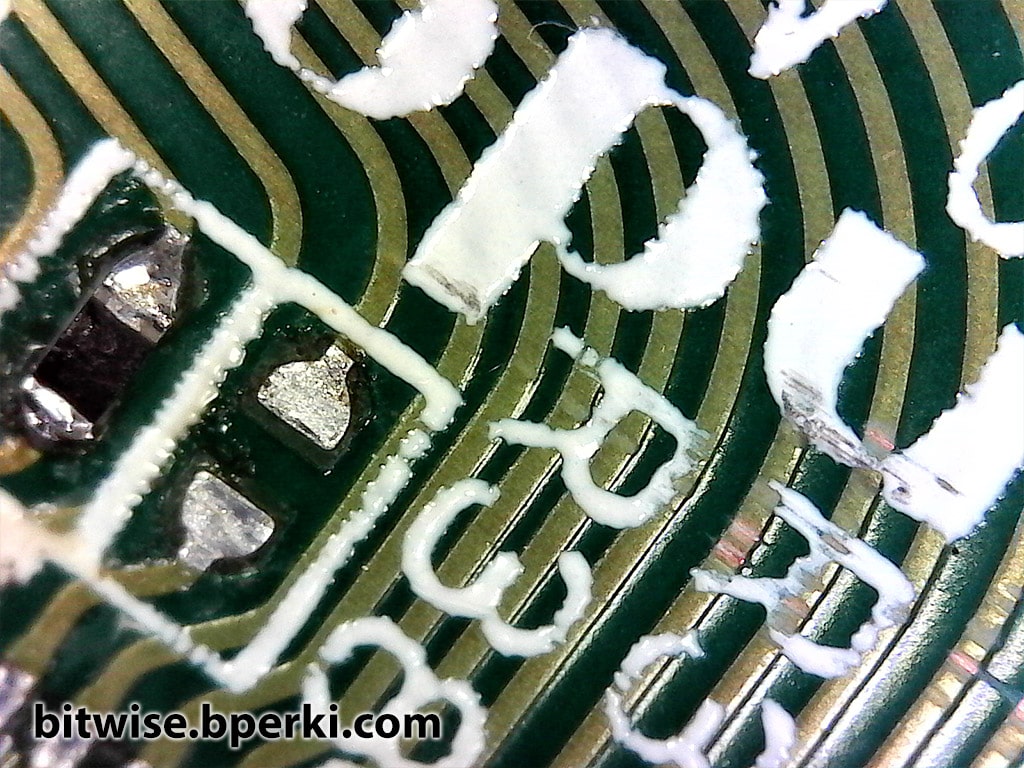
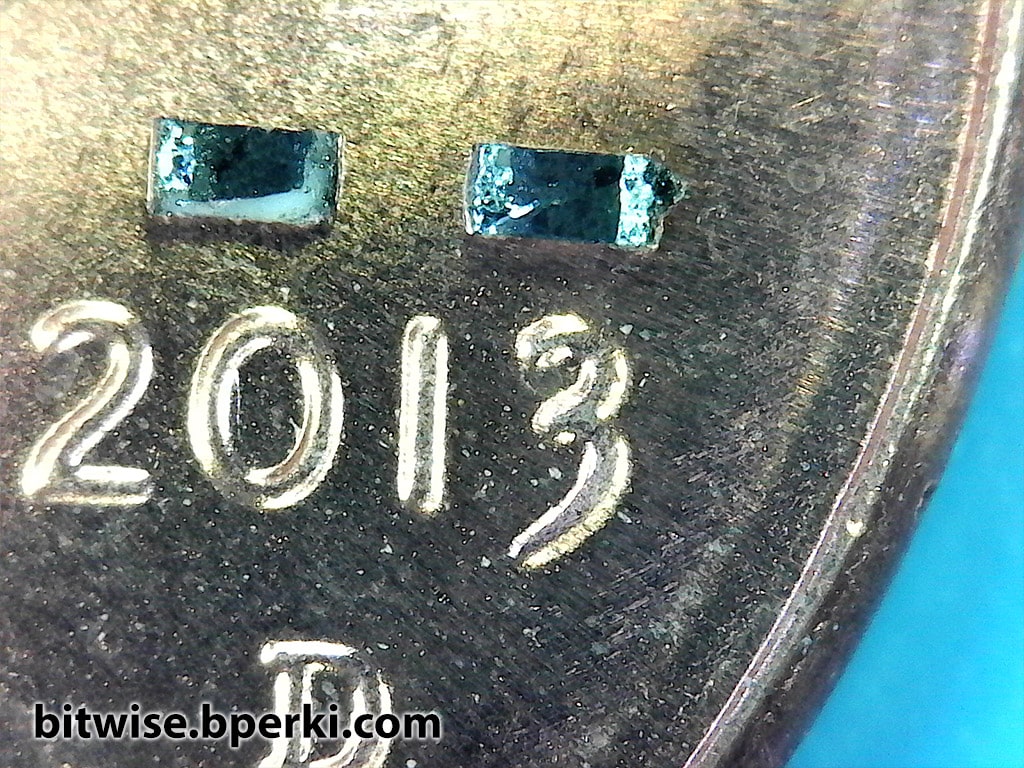
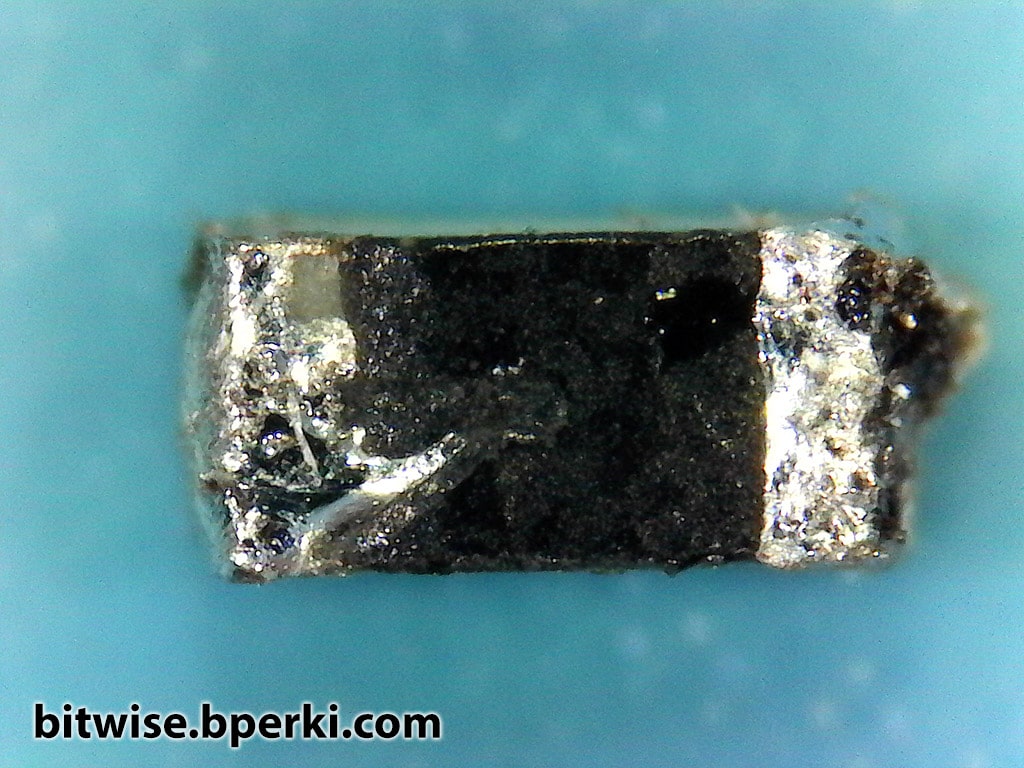
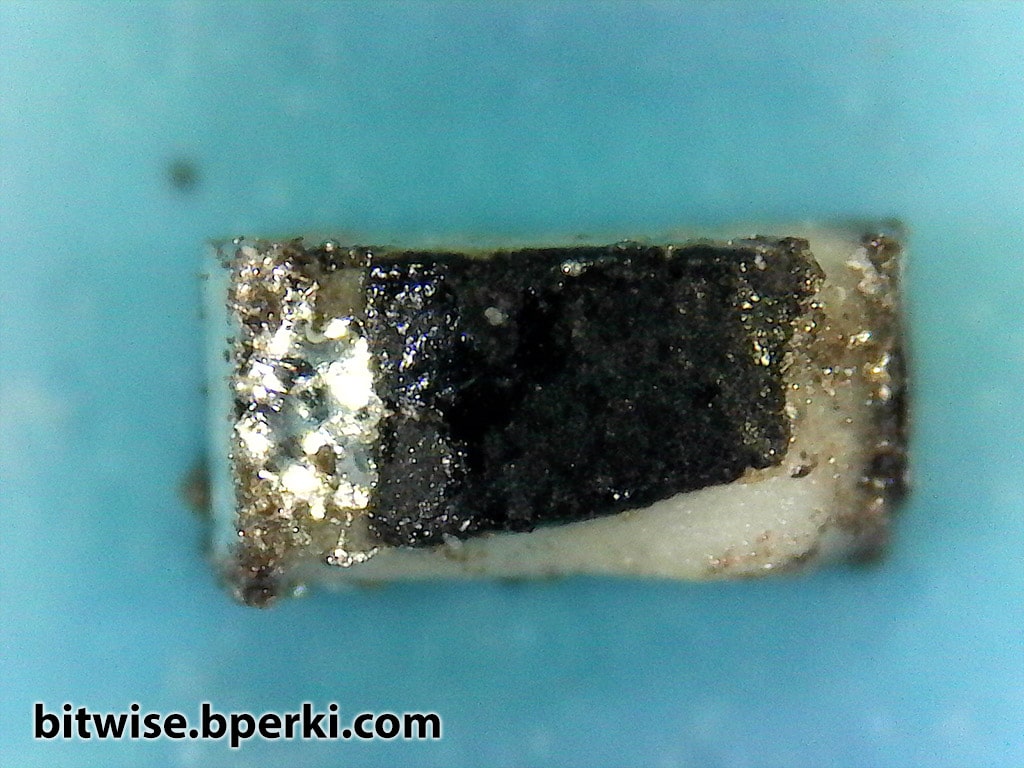
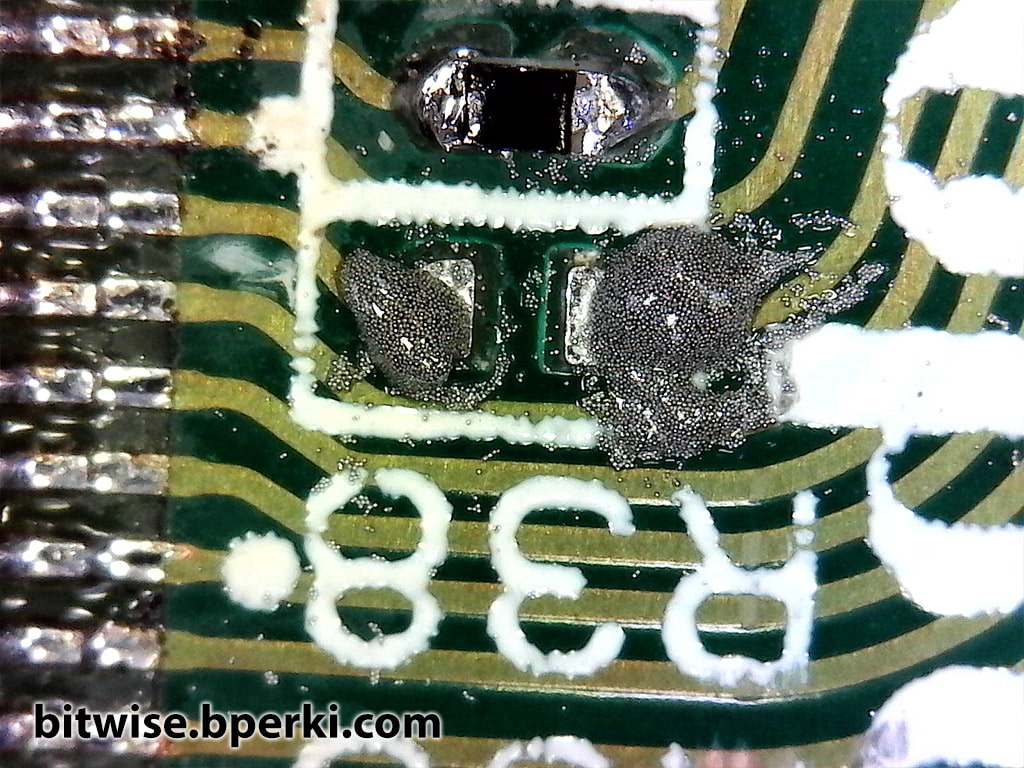
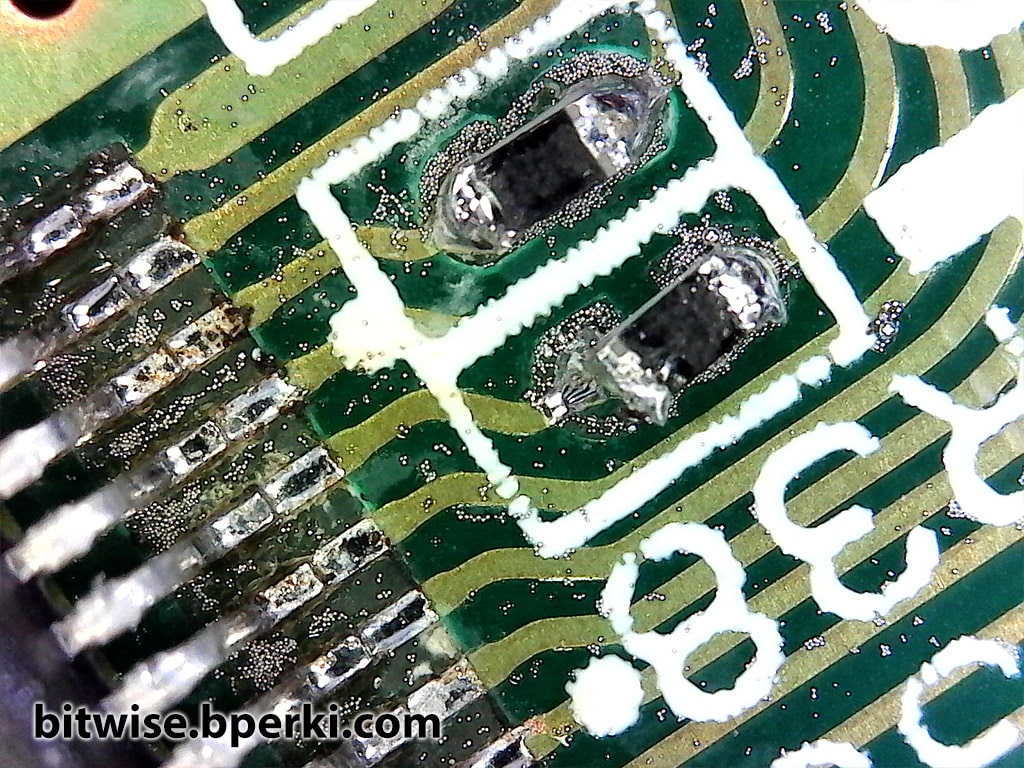
Now that I knew were to look, it was easy to spot the problem. Sitting between the cartridge connector and the CPU on the !CS line is a resistor that appears to be damaged (note the white gap between the solder connection and the black film on top). Referring to a GBA repair manual (although the instructions are in Portuguese, the schematics are in English), it was easy to see that this was a 47Ohm resistor, and I measured it as an 0402 (1005 metric) size. It would be easy to buy one of these online, but I didn’t want to wait, and I had a broken GBA handy, so I just replaced R39 on this board with the one from the broken Game Boy.
There’s not much to it, but below are some pictures from along the way.

And since kids these days all want their infotainment in minute-long spurts, here’s a video:
On my gameboy advance board I’m missing C40 and C35 for some reason. (Bought it used it doesn’t work)
You wouldn’t happen to know what value those are and where I might order them?