I just recently bought a new gaming console. It plays at a constant 60fps, is capable of display 8000x more colors than the previous generation console, has dynamic CPU speed control and runs on normal AA batteries.
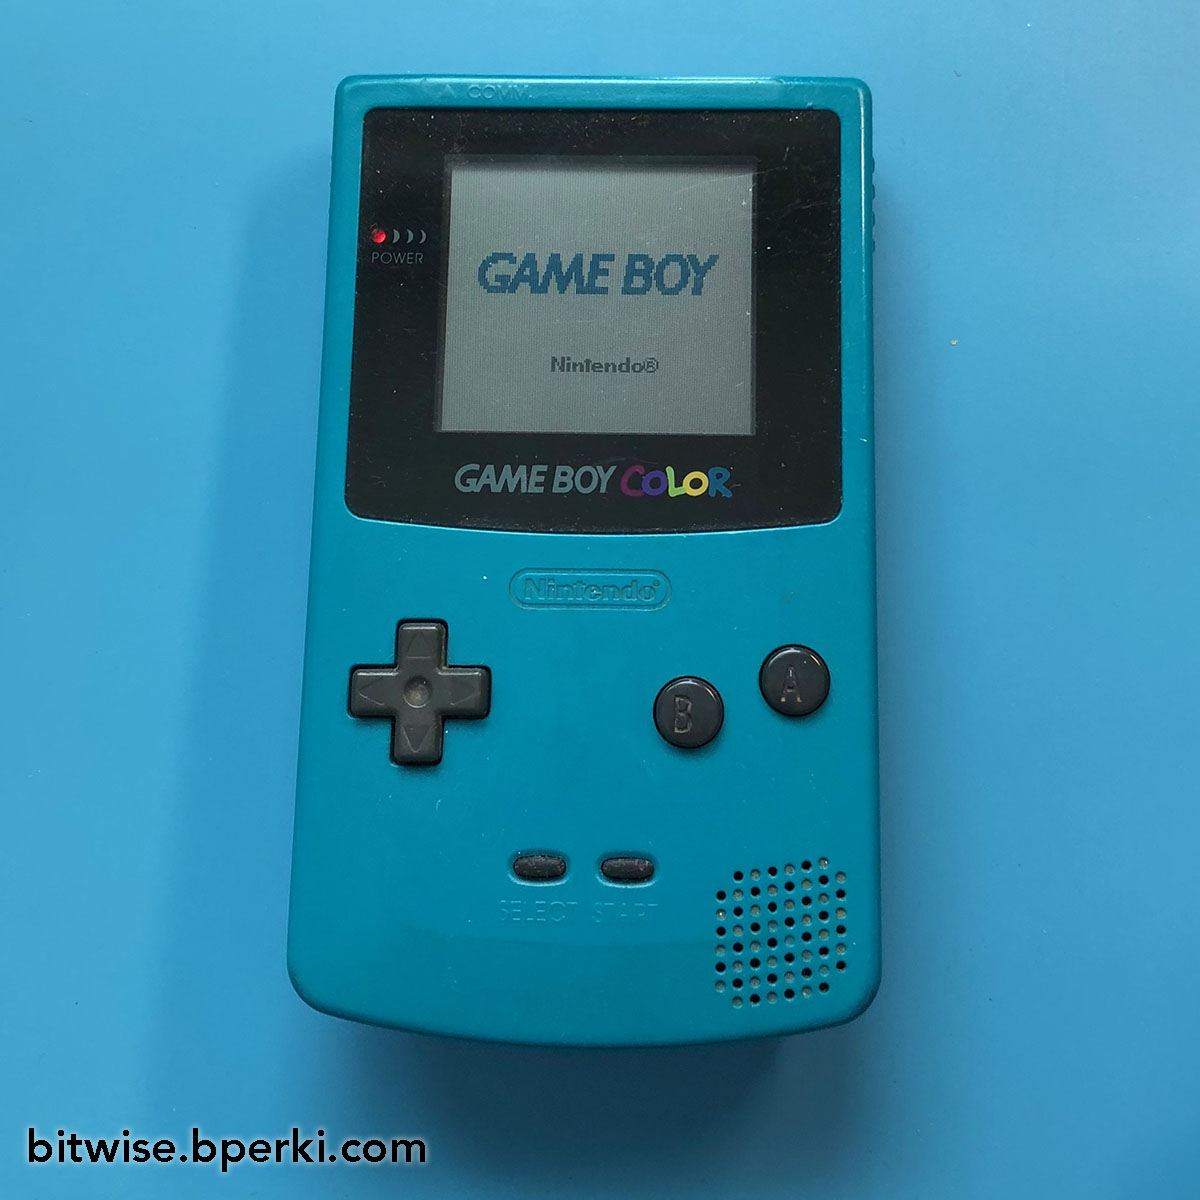
Ok, so it’s not an XBox, or PlayStation or whatever the kids are using these days, but it’s still a pretty impressive piece of hardware. I should clarify — I’ve never really been much of a video game enthusiast, my interest in that area peaked when I was about 10 years old, so I’ve always had a special place in my heart for the Game Boy. Recently, I’ve been interested in understanding exactly how the Game Boy works, so I started working on an emulator (it’s halfway finished… Big surprise). I also found this really incredible cartridge that lets you load any games you want onto a MicroSD card and play them. While it’s great, it is rather expensive and there isn’t much documentation on how it works, so I decided I would dive in and try to make my own.
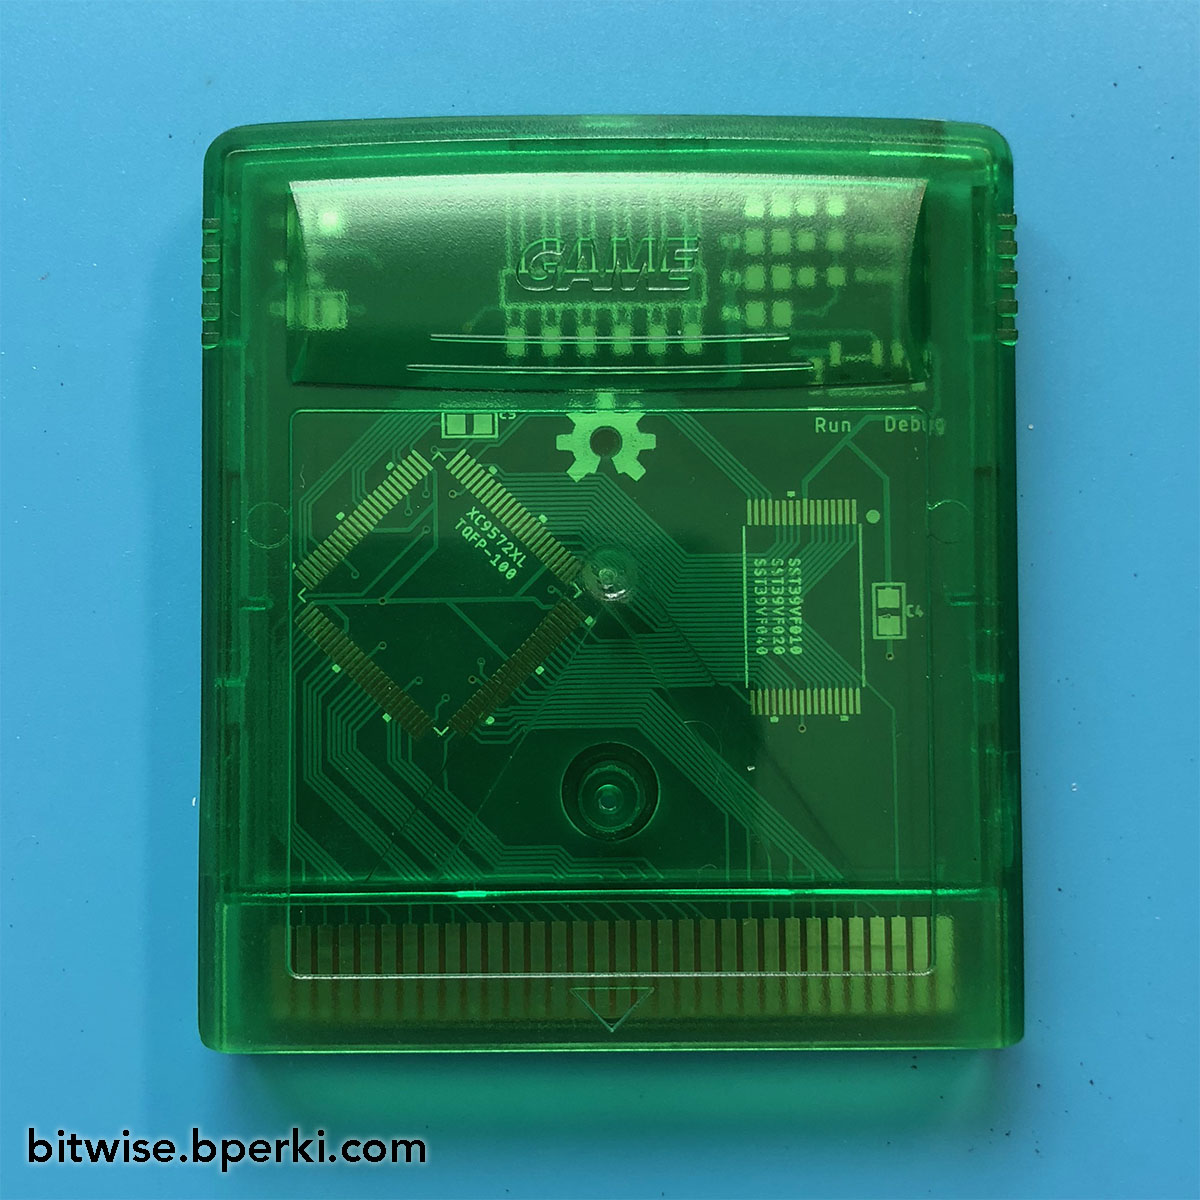
So that’s the end goal: Create a custom Game Boy cartridge that can store many games on an SD card and play them flawlessly — and make it open source so that anyone can create their own.
As I started to research what it would take to make this project a reality, I began to realize that I had grossly under-estimated how hard it would be (again, big surprise). I originally figured I could just pop a modern STM32 chip onto a PCB from OSHPark and everything would be fine, because after all, the Game Boy came out in 1988, Moore’s law should have solved this problem for me, right? It turns out that approach does work, and in fact it’s already been done. But it requires some serious muscle — about 150MHz. Getting a chip that can run at those speeds, has enough IO pins, is 5V tolerant and low enough power not to drain your Game Boy’s batteries is a pretty tall order. They definitely exist, but you’re going to be paying upwards of $10.
After a bit more digging, I decided the best route to go down was programmable logic. For roughly $4, I could get a 5V-tolerant CPLD with more than enough IO lines for the job. Add a couple bucks for a parallel flash chip — it may be possible with a SPI or I2C flash chip, but since I have little to no experience with CPLDs, I wanted to give myself as much flexibility in timing as possible (access time is only 70nS!) — and things really start to come together.
Now that I’ve got an idea for which components I want to use, it’s time to test them out. Before trying to make a full cartridge with an SD card and a bootloader to program the flash chip, I’m going to start easier — just the CPLD and 1Mbit (128KB) of flash memory. That will be enough to validate the components and general layout, as well as allow me to program the CPLD to act as a memory bank controller.
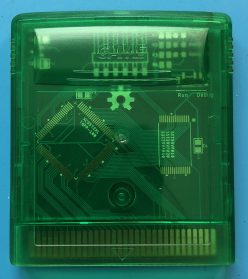
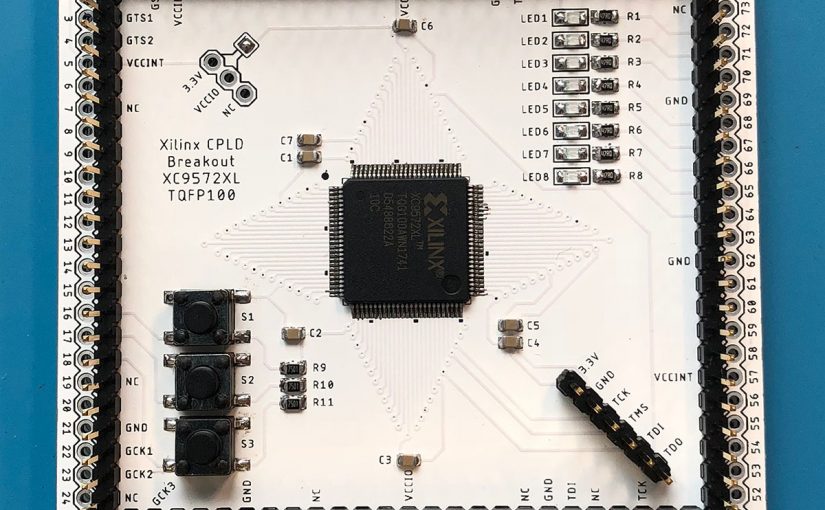
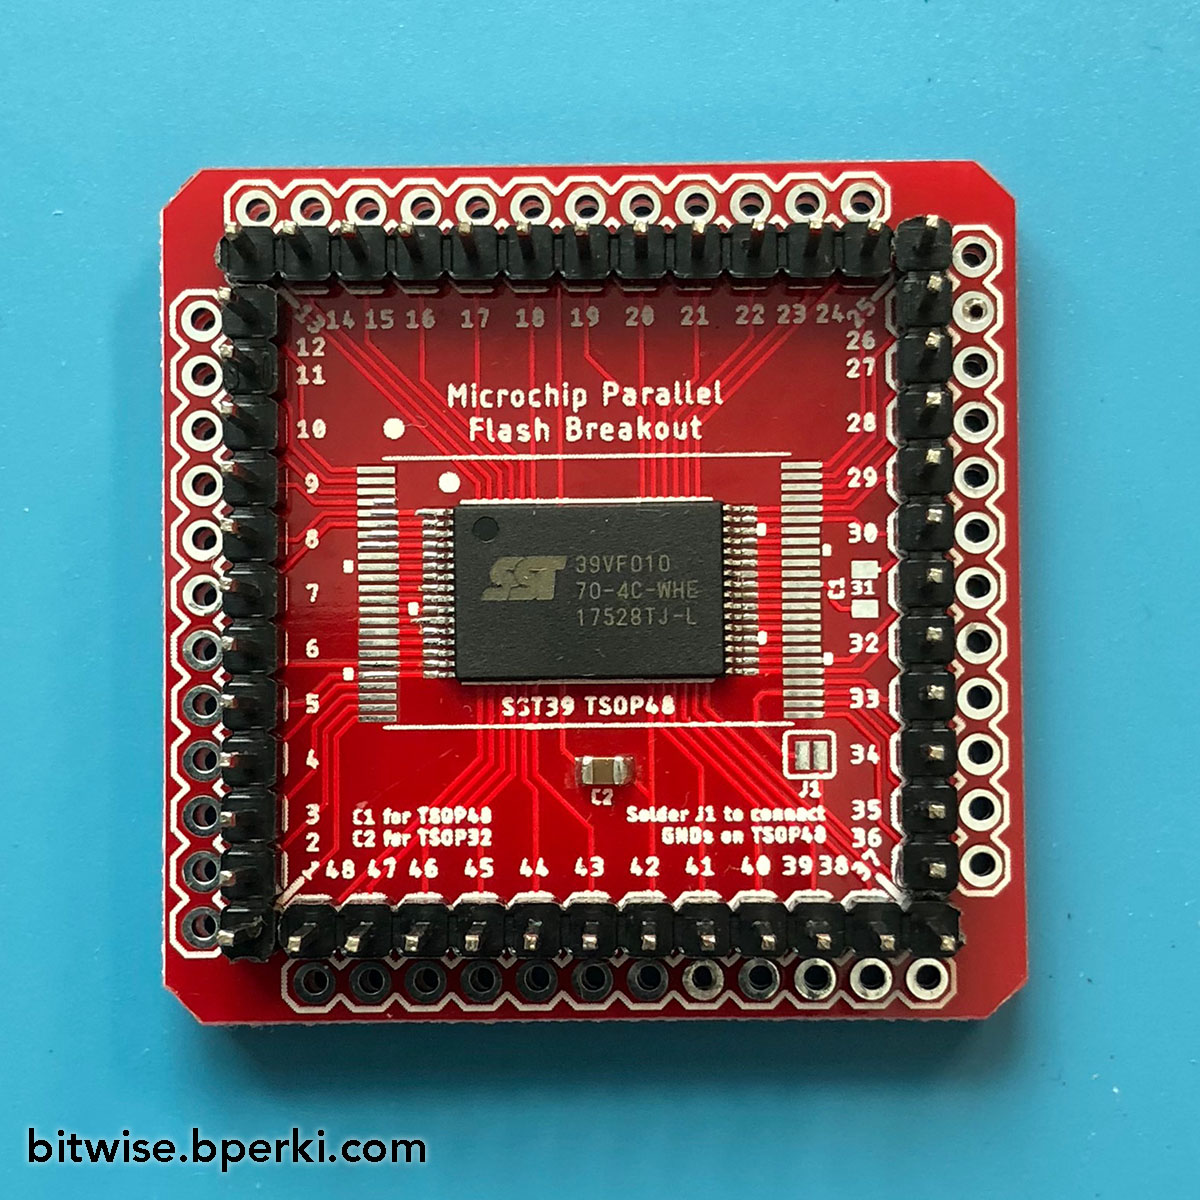
After a couple days of PCB design, I sent off my Gerbers and waited “patiently” (I totally wasn’t checking on the status every 30 minutes). A week later, I got them in the mail. I’ll write a post later going over the boards in more detail, but for the time being, I’ll be focusing on two of them — breakout boards for the CPLD (XC9572XL) and parallel flash (SST39VF010).
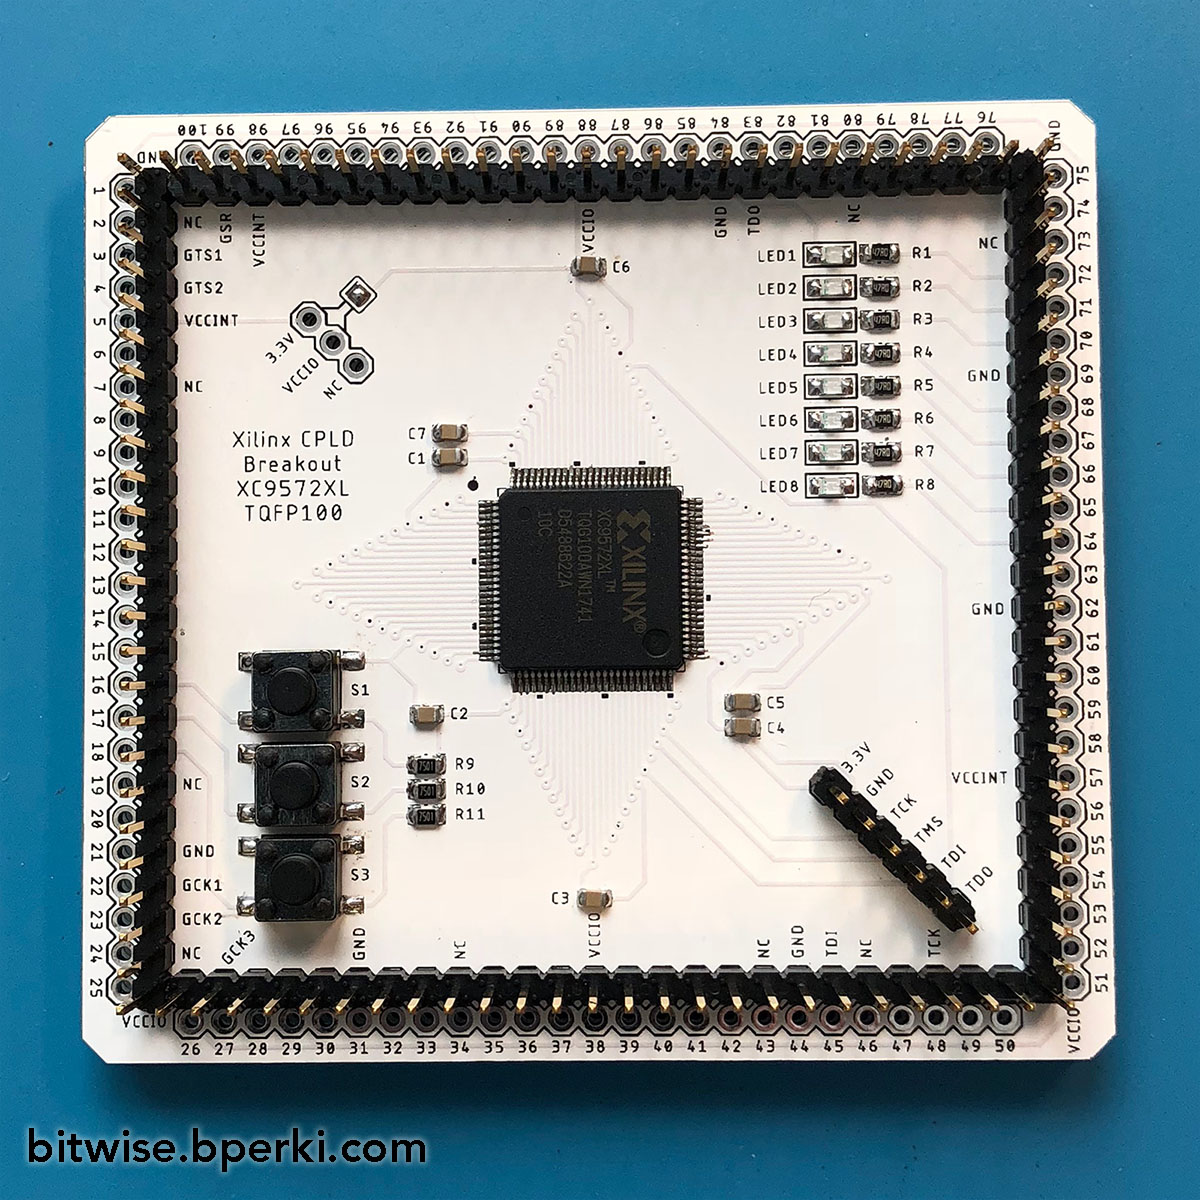
In my next update, I’ll explore what it takes to get the Xilinx XC9572XL CPLD up and running — hopefully without needing any specialized programming hardware.
One thought on “Custom Game Boy Cartridge – Project Update #0”