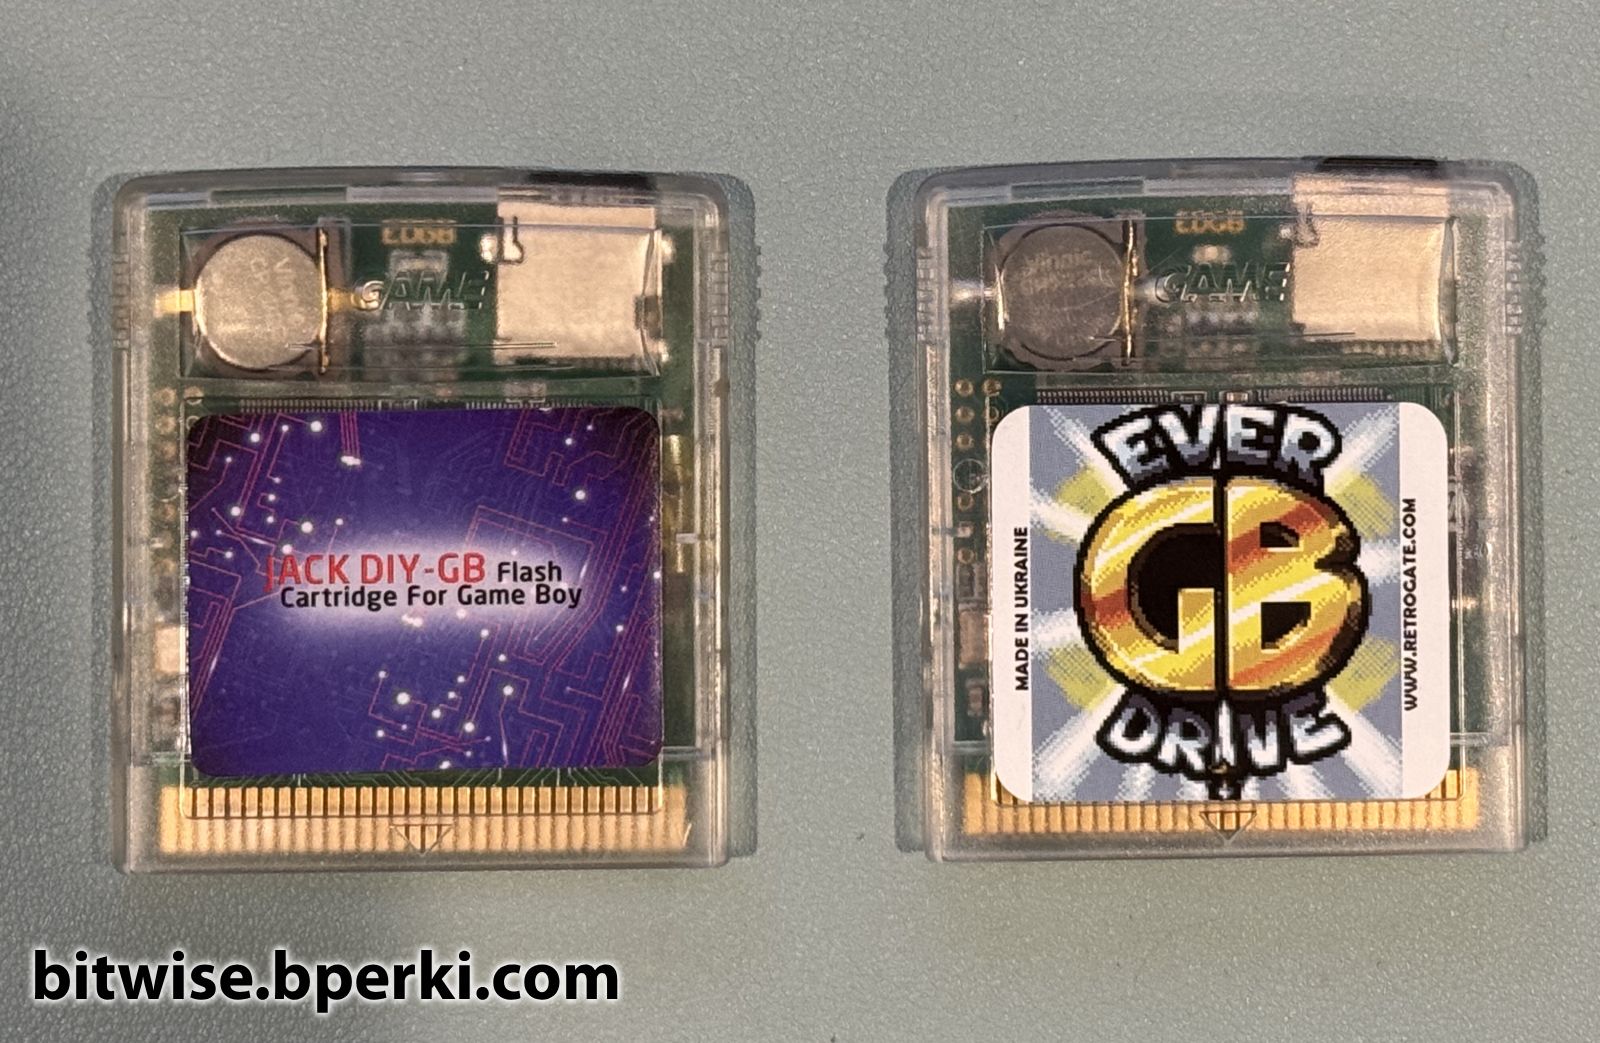
Wow, it’s been how long since I made a post here? Six and a half years? I’m sure you were all waiting with bated breath. Anyway, let’s look at the subject of today’s post: cheap, knock-off EverDrive clones. Before we get started, I want to say a few words on the subject. All of these EverDrive clones are based off of stolen designs and code and, while they may be cheap, they take money away from the original creator, Krikzz, who put in a ridiculous amount of work to develop such an incredible product. As of writing this, the official EverDrive Game Boy x3 is only $44, which is considerably less than you would spend if you tried to follow this guide to repair a broken clone device. If you’re in the market for a quality Game Boy flashcart, I highly recommend picking up a real EverDrive from the manufacturer or an official retailer.
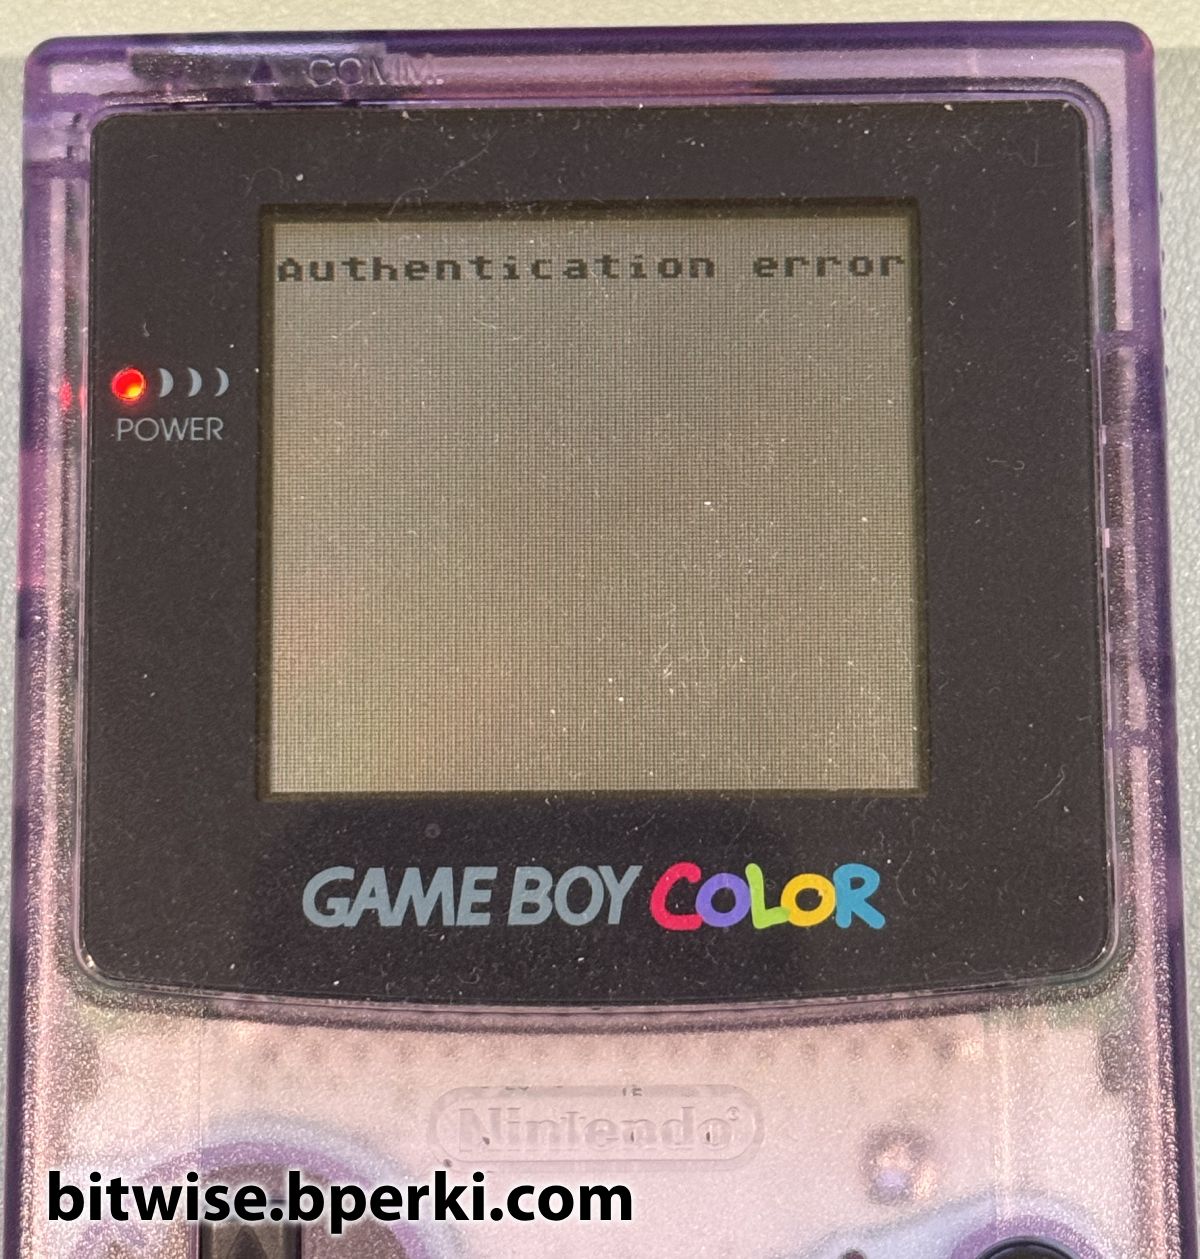
Now for a bit of background, what is this all about anyway? Because the EverDrive clones were blatantly counterfeited, Krikzz fought back by adding a “poison pill” to the firmware updates he released. If the new firmware detected that it was running on a clone device, it disabled the cartridge, displaying only an “Authentication error” message and refusing to boot further. Firmware updates are normally performed on-the-fly, but this counterfeit check goes one step further and rewrites the boot firmware stored on the built-in flash chip, so even if you remove the updated firmware file from the SD card, the cartridge is still bricked. While I support Krikzz in fighting back against the counterfeiters, I can also understand the argument that this goes a bit too far – many people who own these cartridges probably had no idea they were buying a rip-off of a legitimate product when they bought it. Perhaps a friendly message informing the user that their device is counterfeit and encouraging them to buy a real one, paired with a 10-second delay before loading any games, or maybe a limit of how many games it would read from the SD card would have been a more suitable approach. Just enough to make the user aware they have a counterfeit product and provide some minor annoyance, would have been my preference. Regardless, this provides a very interesting engineering challenge: how to un-brick this “permanently” disabled device.
Over the following three blog posts, I’ll write about my journey to reverse engineer the firmware, patch it and repair the cartridges with successively cooler methods. Let’s look at the first approach: desoldering the flash memory to reprogram it.
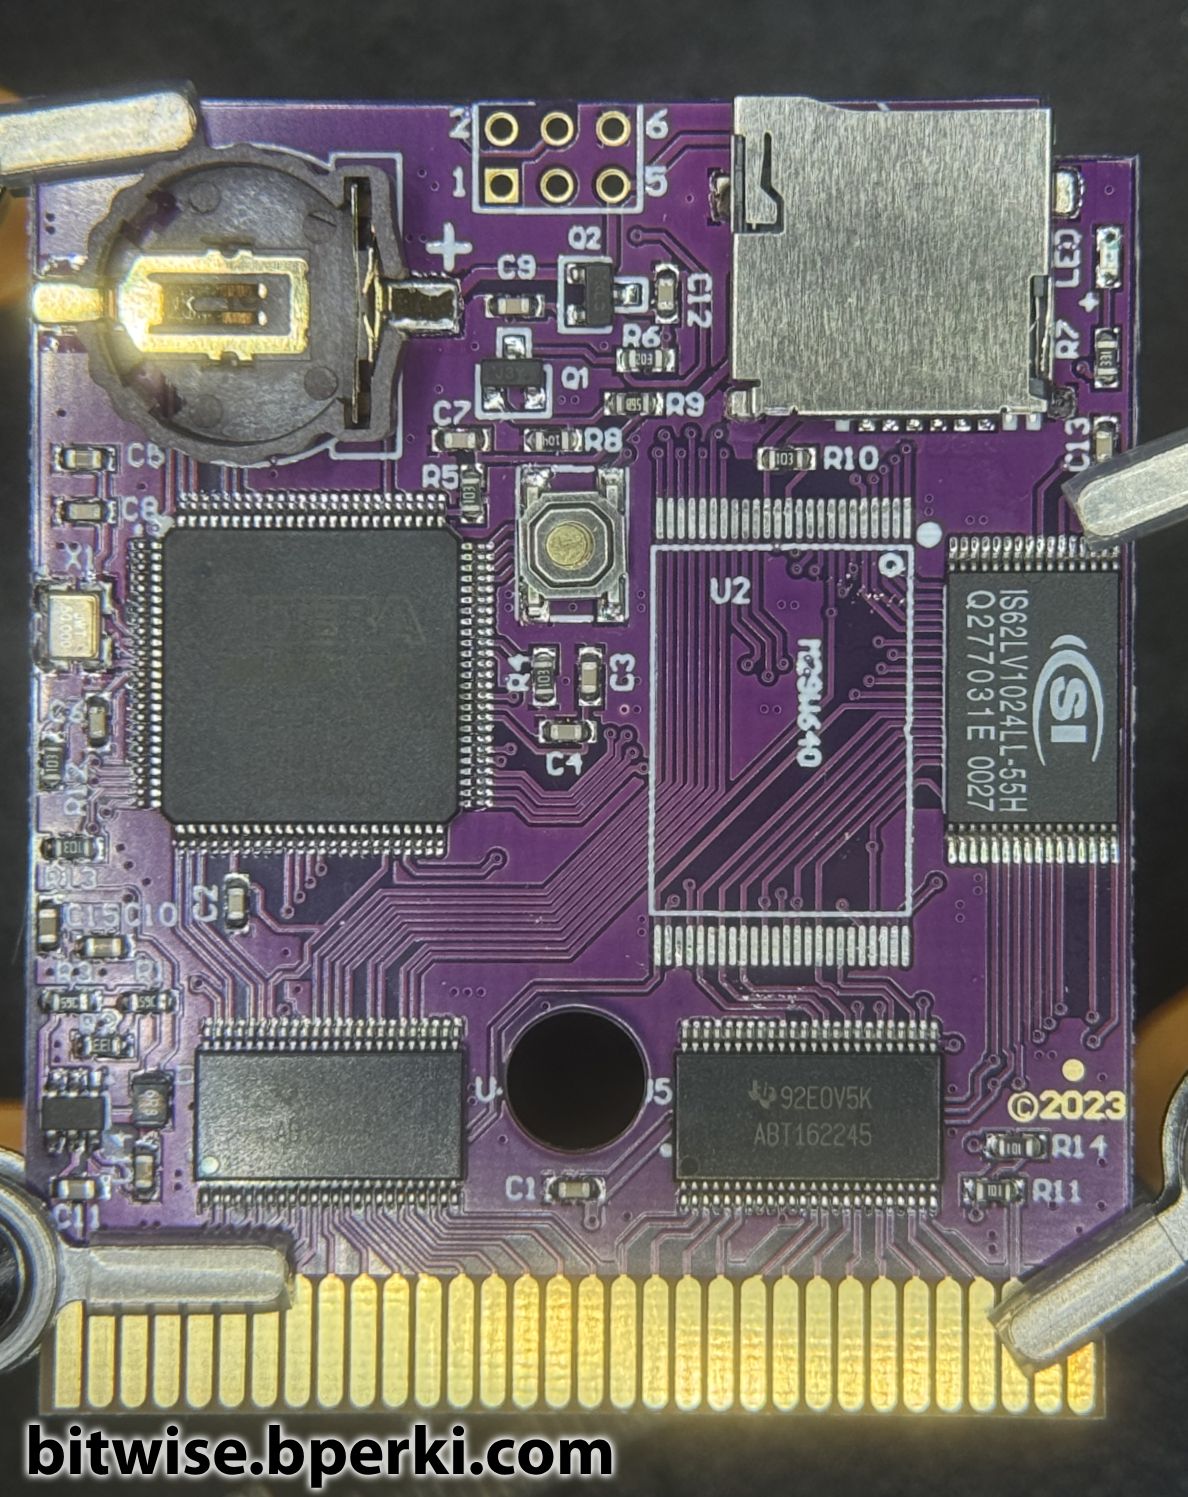
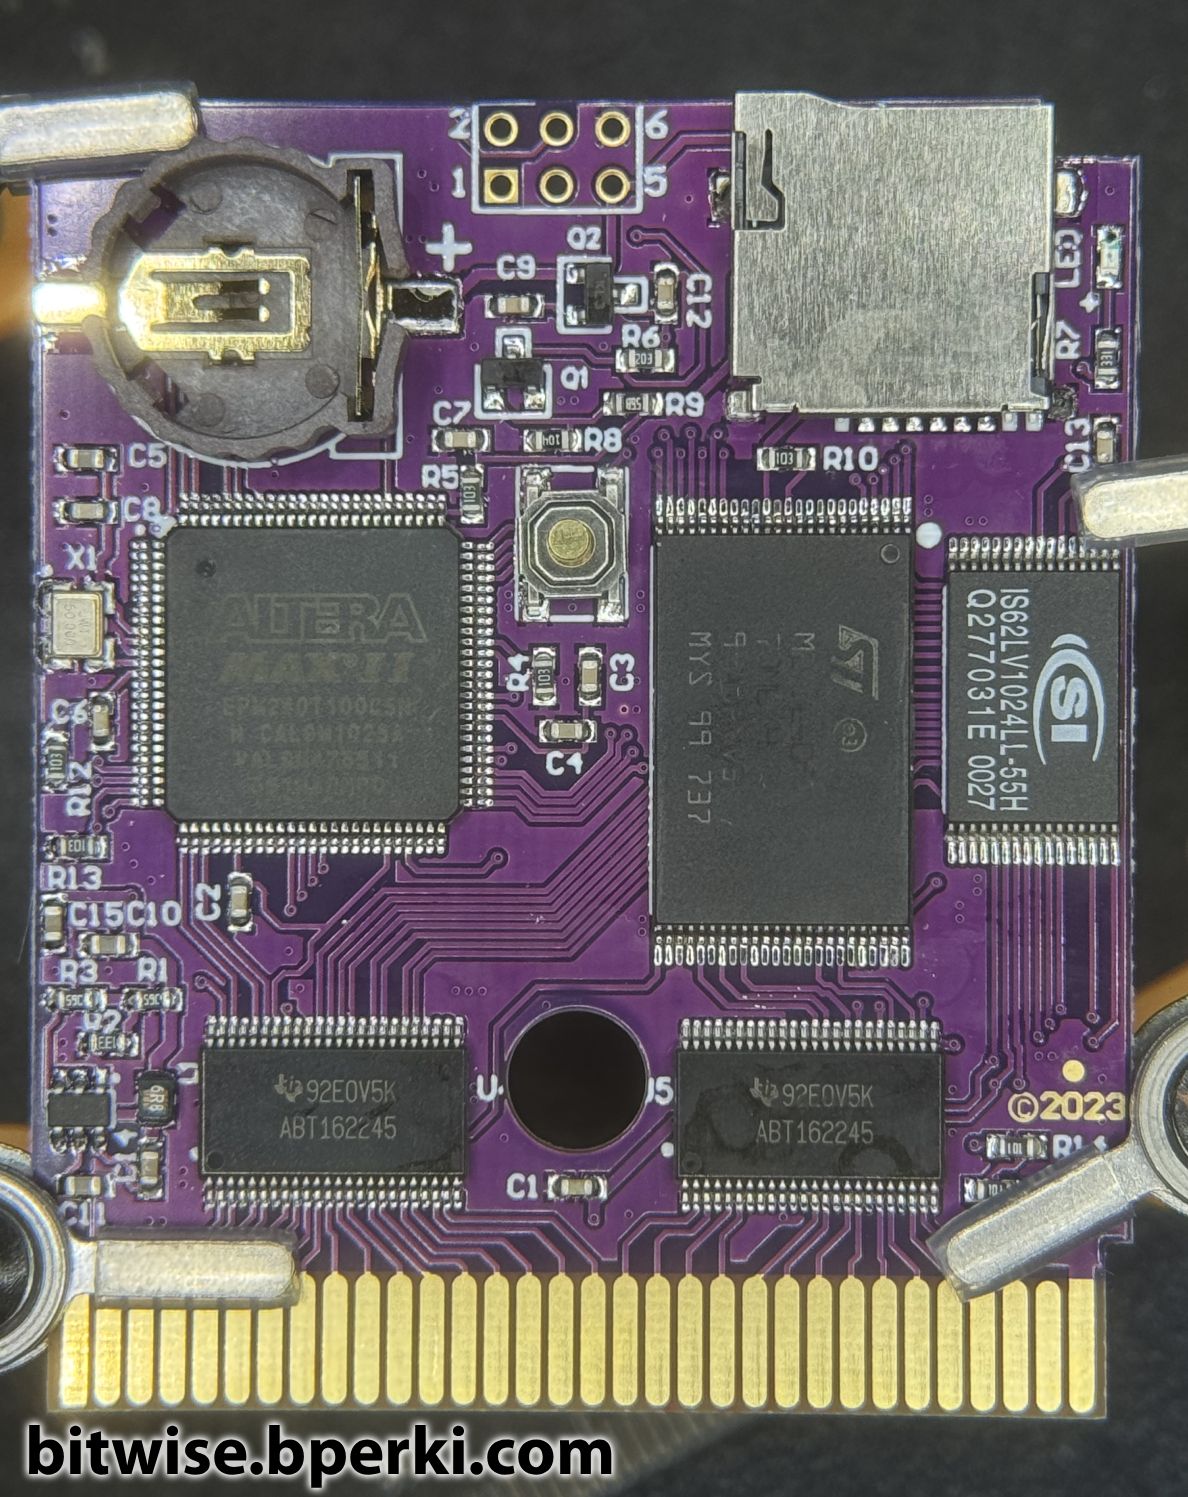
Ok, so we know that the internal flash memory has been corrupted because removing the update file from the SD card and removing the backup battery the powers the SRAM does not resolve the issue. The most straightforward solution to this is to simply reprogram the flash memory. This has been done before, so we know it works, but the person who did it, MartialBlot, used a T48 Programmer, which costs upwards of $100 to get a version that includes the proper TSOP48 adapter, and I didn’t want to pay that much money when there are other ways. MartialBlot also attempted to use an Arduino as a makeshift programmer, but wasn’t able to make that approach work. I think that’s a viable solution and was what I was planning to do until I stumbled upon a piece of software called TopJTAG Flash Programmer, which promised to use JTAG boundary scanning to read, write or erase CFI-compliant flash chips. Unfortunately, this software is now defunct, but I had saved a copy of a trial version years ago, which worked well for my needs. Back in 2018, I had designed a breakout board for an XC9572XL CPLD in order to make my own Game Boy flashcart. That project had long since stagnated, but I still had the board, which supports JTAG and had more than enough pins to connect to the M29W640FT flash chip used by the EverDrive clone. First, I desoldered the flash chip from the cartridge, then I got to work hooking up wires (seriously, this took forever) between the two breakout boards and finally configured TopJTAG to know which pins on the CPLD went to which pins on the flash memory.
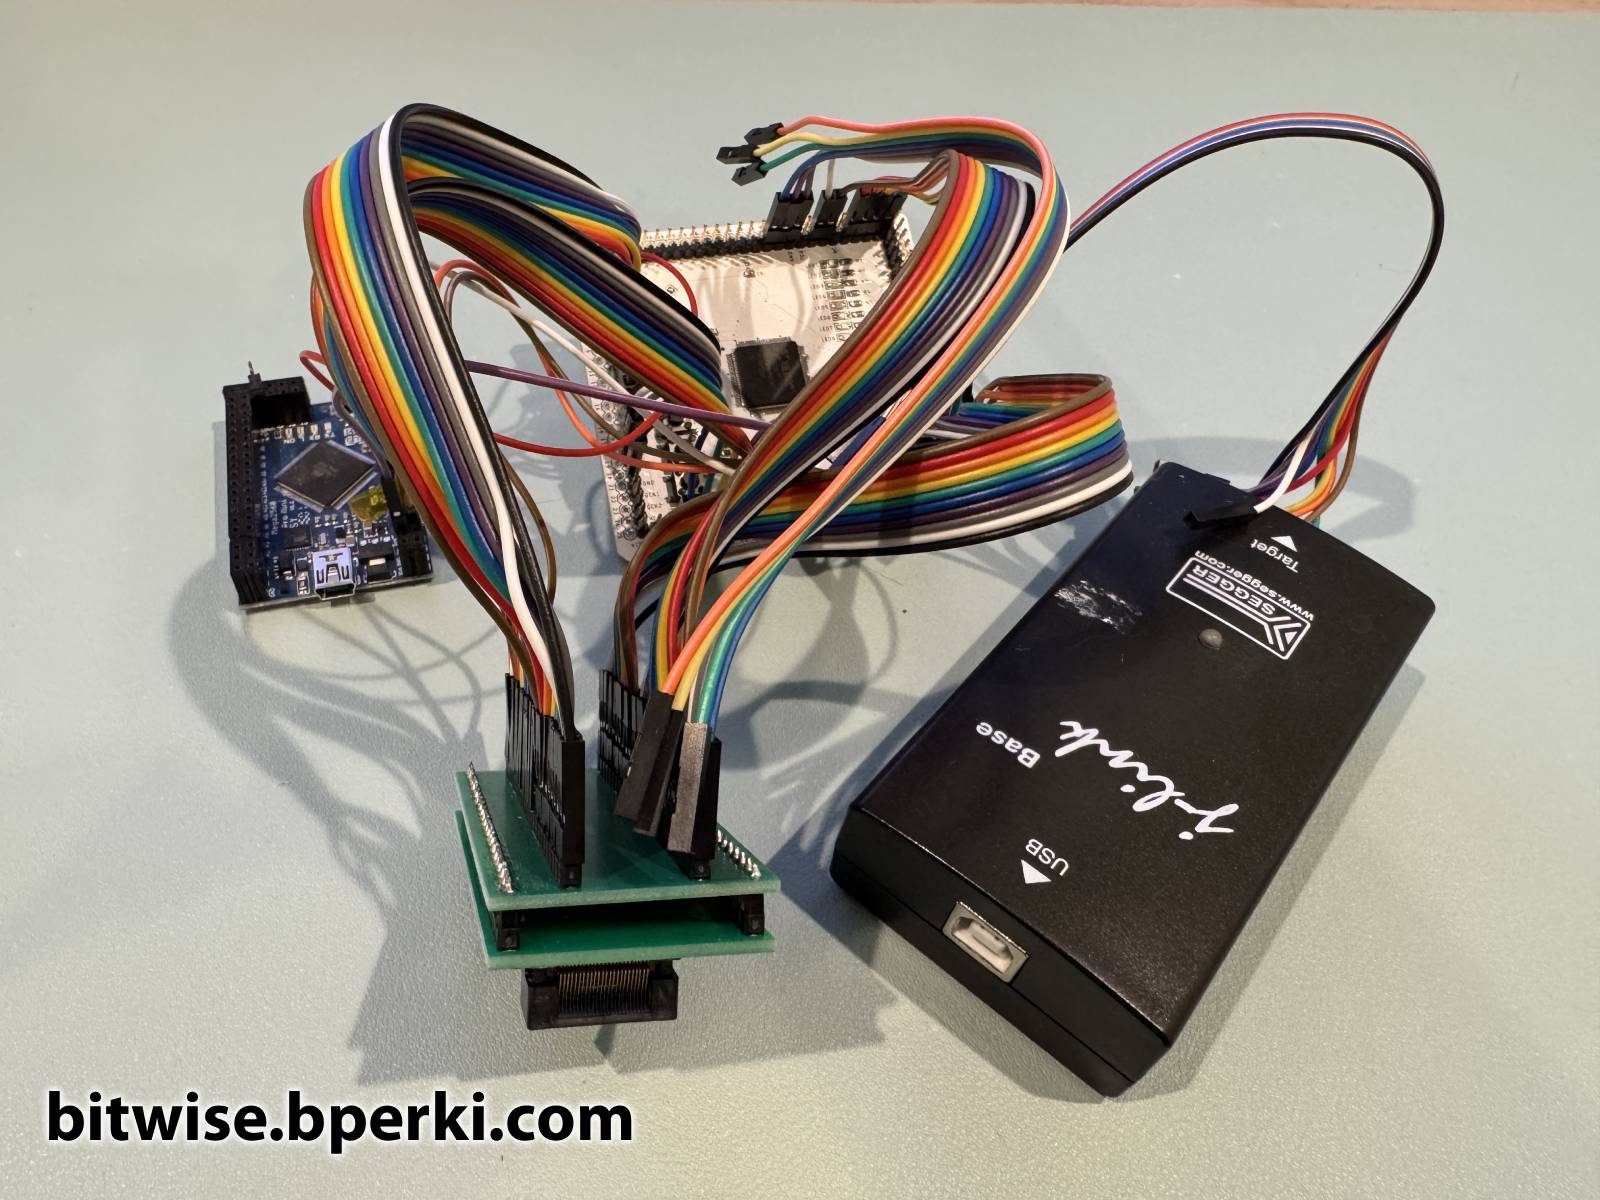
There are four pieces here: the main CPLD breakout board (in white), a breakout board for a TSOP48 socket where the flash chip sits (green), a J-Link for actually doing the JTAG communication and an Arduino (blue), which is only there to provide 3.3V (since SEGGER couldn’t be bothered to put a selectable voltage output on a $500 device, I guess). The Arduino feeds 3.3V to the CPLD board, which then feeds it to both the flash chip and to the VTref pin on the J-Link.
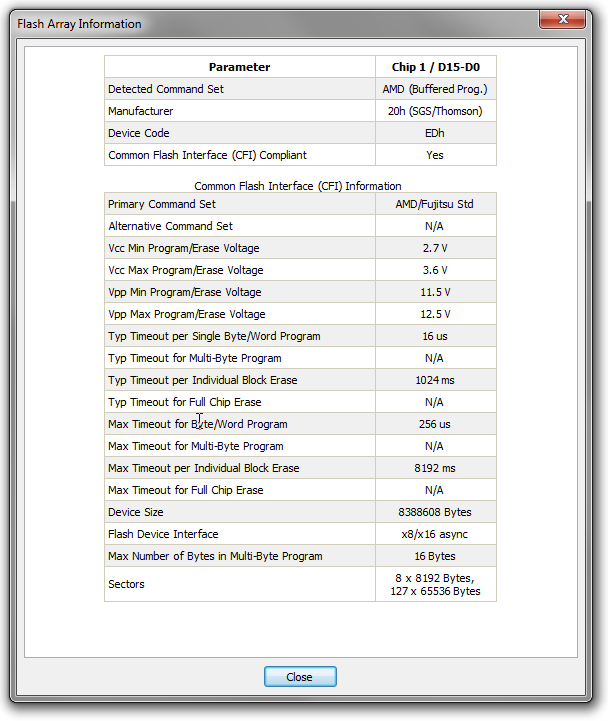
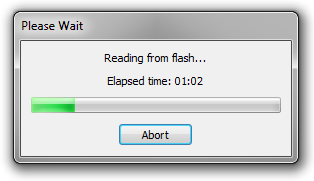
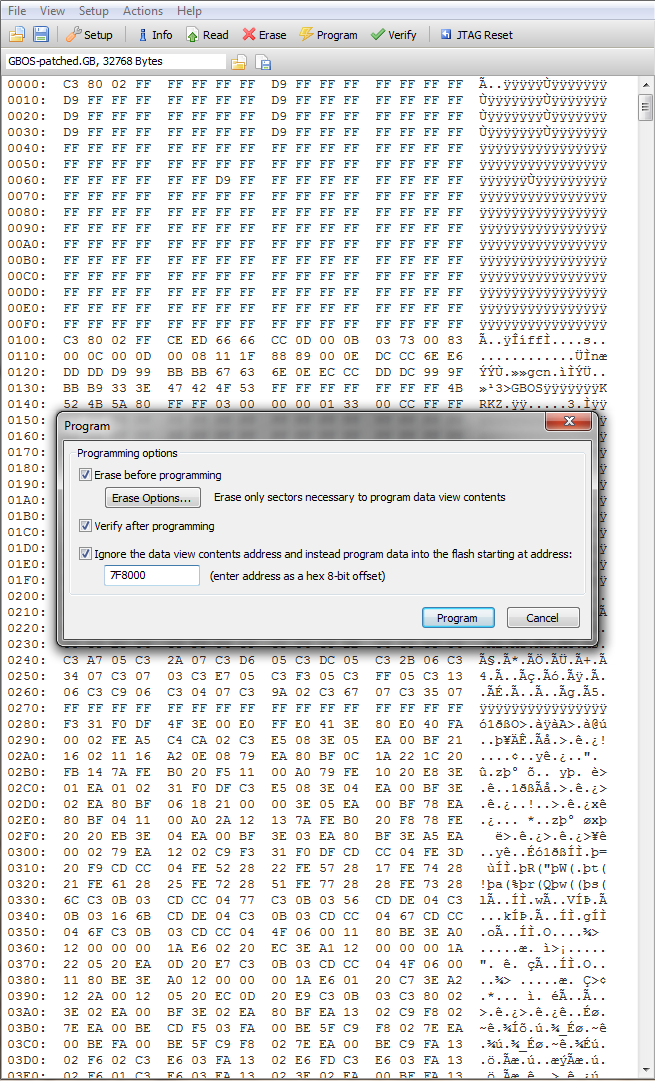
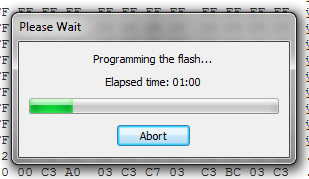
Now that we have successfully read the CFI parameters, we know the devices are all connected properly and we can dump the flash memory (while JTAG boundary scan is a cool way to work with flash chips, it is painfully slow, dumping the whole 8MB took several minutes). With the dumped file, we can see the how the EverDrive software arranges ROMs. The ROM to play is positioned at the bottom of the flash memory, at 0x0000 and the firmware file is 32kB, located at the top of the flash from 0x7F8000 to 0x7FFFFF. Fortunately, this upper 32kB is all we need to overwrite, since writing 8MB would be… painful.
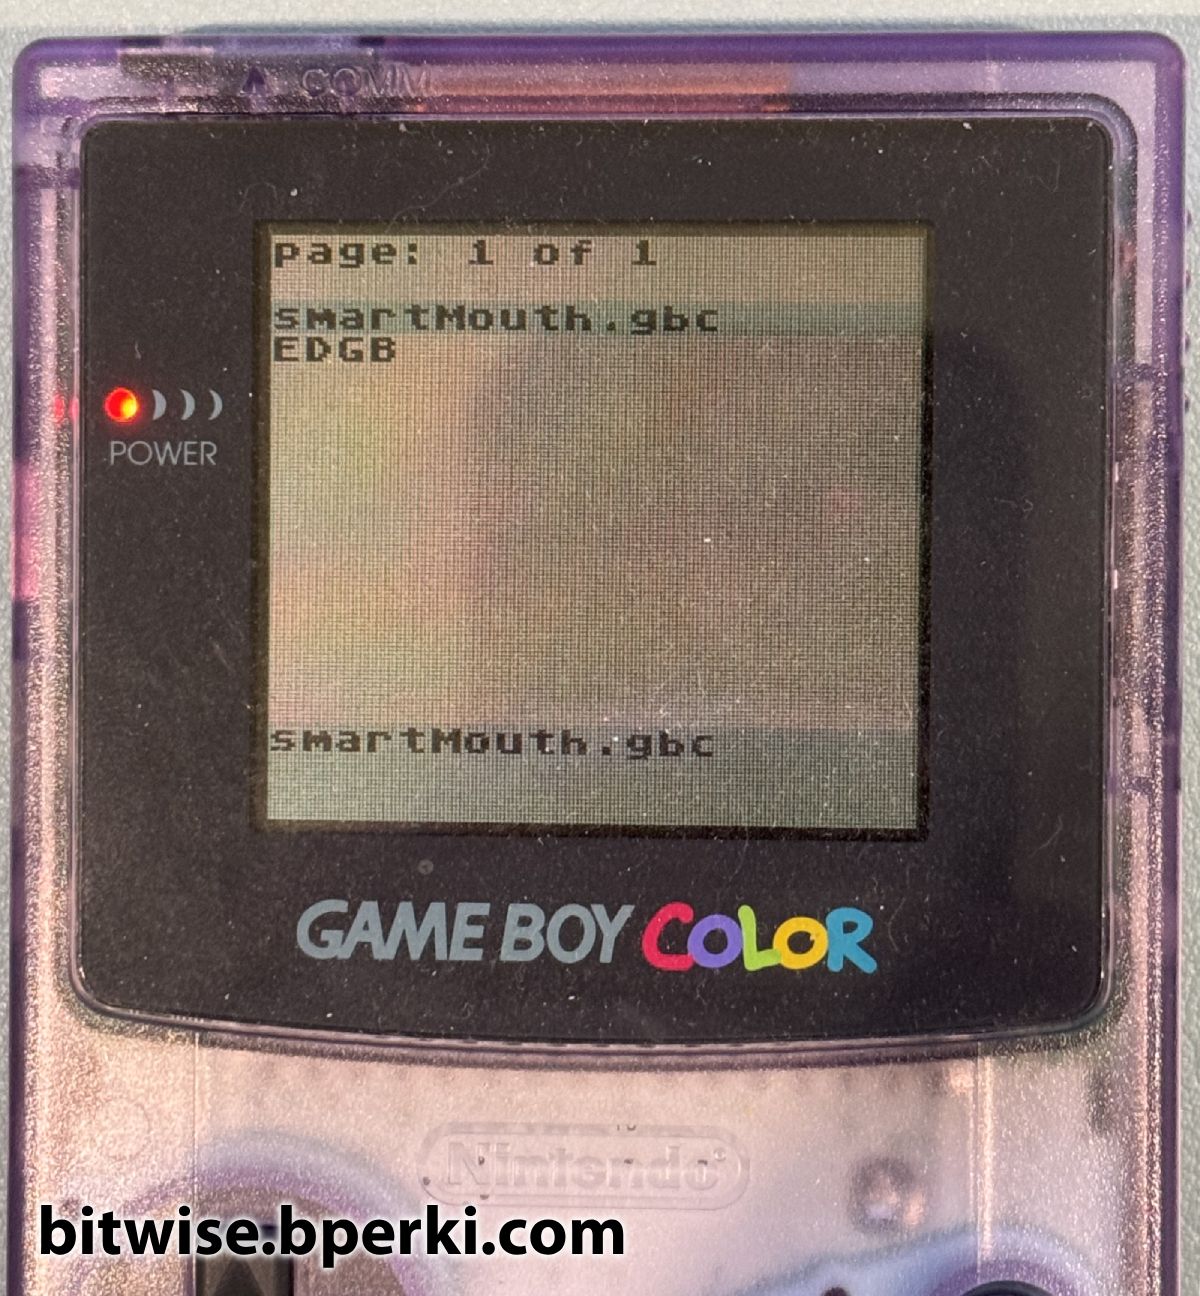
Of course, being able to write is only half the battle, we need to know what to write as well. Fortunately for me, I also have a real EverDrive of the same model the cloned one is based on, so I desoldered that flash chip, dumped the top 32kB and used that to write to the clone’s flash memory. With a little bit of solder and flux, I put both the real and clone EverDrive back together and tested them.
Success.
“But wait, wait, wait”, I can hear you saying. “All you did was copy the flash memory from a good board to the bad board to fix it? You promised us reverse-engineering”. That’s true, and believe me, even though I had successfully repaired this cartridge, I wasn’t satisfied. I couldn’t stop thinking about the fact that the EverDrive is able to reprogram itself, so clearly it should be possible to use a flash-cart programmer to emulate this behavior and repair the cartridge without any soldering required. If that sounds interesting to you, come join me in part 2.